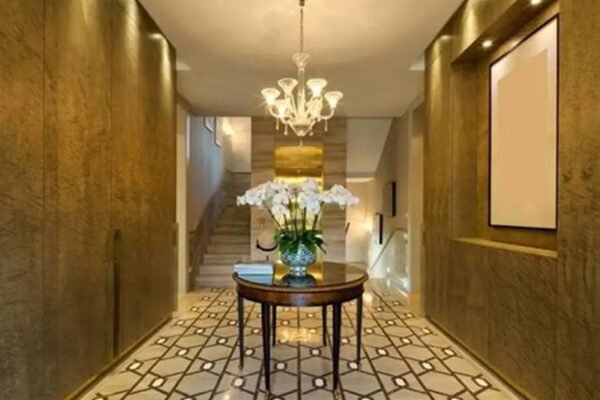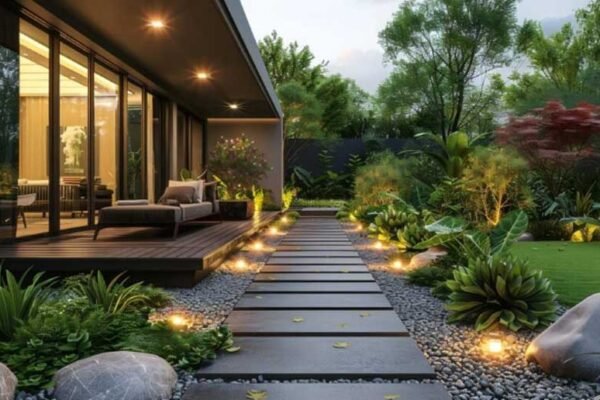
A mood board is an integral part of the design process for any home project. For instance, it helps capture your ideas while exploring different materials, colors, textures, and patterns before making a final selection.
Proformance Roofing advises homeowners to choose products that complement their home’s exterior design (aesthetic) while protecting against the elements. With that in mind, how do you create a mood board for your color scheme and design? To discover more, keep reading.
What is It?
Basically, a mood board is a visual representation of your ideas and thoughts. Thus, it helps you decide on your space’s final look. So in theory, you should have no issue showing your mood board to anyone who works in commercial roofing services to express your ideas.
It’s generally made up of swatches, paint chips, and bits of fabric. Still, it can include photos, sketches, and other items to help convey your aesthetic vision. Similarly, it could be a digital board with images found online exhibiting your style. The board also allows you to play with different elements until you find the perfect combination.
Still with me? Great. Let’s look at the creation process:
1. Find Inspiration
Consider the type of roof you plan on having – shingles, tiles, shakes, or metal. Then find color swatches corresponding to your choice. For example, if you opt for asphalt shingles, you could choose black, gray, or brown. Pinterest boards are replete with ideas, while magazine cut-outs are also useful – they can help you create a foundation for your board.
2. Choose Paint Colors
Select a color palette that will work with the roof. Typically, lighter colors make a home appear larger and darker shades create contrast. If you need help choosing the right colors, consult your local paint store for advice on complementary hues. Refine your choice by checking for similarities among the swatches or opposites on the color wheel. While at it, select the following:
- Textures and finishes: Add variety to your mood board by introducing different textures and finishes. For example, you could incorporate wood grain textures for the shutters and other elements. Or, if you plan on using stone veneer siding, choose a sample from your local supplier. The idea is to create contrast while maintaining harmony.
- Trim and accents: Your home’s trim is where you can really make it stand out, especially if you plan to add a pop of color. Take a look at trim options like shutters, fascia boards, and window frames to find something that will fit in with the overall design. Accent pieces could include outdoor lighting fixtures, doorknobs, or a decorative border. Feel free to personalize the board with your favorite decorations and accents.
3. Put It All Together
After gathering all the elements, you need to create a representation of your vision. To this end:
- Arrange them on your board – a manila paper or a poster board.
- Include all the colors, textures, and finishes you’ve selected.
- Try to create a balanced look and use items that work well together.
- Consider the diverse elements making each item unique or complementary.
This way, you can get a clear idea of your dream home‘s exterior before proceeding with the project. Similarly, note down the names of colors (these can be found on product packaging or color charts), so you can refer to them later. You’ll also need to write down the decor styling you prefer and the type of finishes – so you can remember the names while shopping for actual items.
4. Put the Final Touches
Look at the board objectively. If any elements seem out of place, replace them with something else. Add more photos or swatches if you want to change the palette, texture, finish, or trim. You may also seek input from loved ones on how to further refine your board.
In the end, the board should reflect your vision of the perfect home exterior and be pleasing to look at. It’s also a great idea to order color samples and stickers. That way, you can better understand the final look – and possibly even make adjustments – before undertaking the project.
5. Get the Project Underway
Share your board with a contractor or designer to actualize your dream. That way, they can replicate the look and feel you envisioned.
The mood board is a reference point, ensuring the contractor sticks to your vision. It may also ensure they complete the project on time and to your specifications – as they understand the look you desire.
Get creative and let your ideas come to life. And while at it, have fun and take pictures. You’ll want your friends and family to see the great job you did. After all, your mood board will be the foundation of your dream home.


