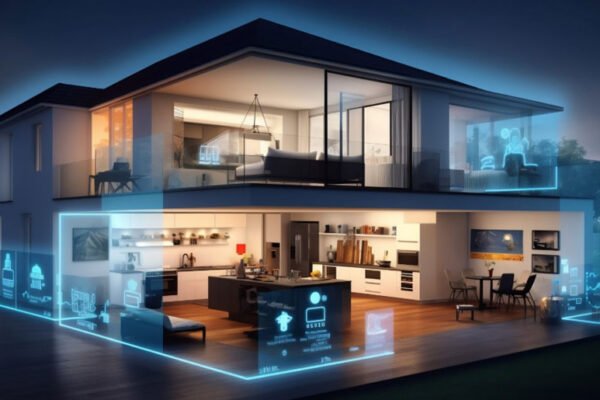
Creating a smart home has become increasingly popular, with many people embracing the convenience and efficiency that smart devices can bring to their daily lives. From voice-activated assistants to automated lighting systems, smart home technology offers a range of benefits. However, the installation process can sometimes seem daunting, especially for those new to the world of smart homes. In this blog post, we will provide you with a simplified installation guide to help you set up your smart home with ease.
Step 1: Assess Your Needs and Budget
Before you start purchasing smart devices, it’s important to assess your needs and budget. Consider what areas of your home you want to automate and the specific functions you are looking for. This will help you prioritize your purchases and avoid overspending on unnecessary gadgets.
Step 2: Choose a Smart Home Hub
A smart home hub serves as the central control system for all your smart devices. It allows you to connect and manage multiple devices through a single interface. Some popular hubs include Amazon Echo, Google Nest, and Apple HomePod. Research different options and choose a hub that aligns with your preferences and the devices you plan to use.
Step 3: Set Up Your Wi-Fi Network
A stable and reliable Wi-Fi network is essential for a smooth smart home experience. Ensure that your router is up to date and provides sufficient coverage throughout your home. If needed, consider investing in Wi-Fi extenders to eliminate dead spots.
Step 4: Install Smart Devices
Now it’s time to start installing your smart devices. Here are some common types of smart devices and tips for their installation:
Smart Speakers:
- Placement: Place your smart speaker in a central location within your home for optimal voice recognition. Avoid placing it near windows or other loud sources to minimize interference.
- Connectivity: Follow the manufacturer’s instructions to connect your smart speaker to the Wi-Fi network. Most speakers have a companion app that guides you through the setup process.
Smart Lighting:
- Replace Bulbs: To install smart bulbs, simply replace your existing bulbs with the smart ones. Follow the manufacturer’s instructions for any additional setup steps, such as syncing with your smart home hub or app.
- Smart Switches: If you prefer to control your existing lights, consider installing smart switches. This involves replacing your traditional light switches with smart switches that can be controlled remotely or through voice commands.
Smart Thermostats:
- Compatibility: Ensure that your smart thermostat is compatible with your HVAC system. Some thermostats require professional installation, while others are designed for DIY installation.
- Wiring: Follow the provided instructions to correctly wire the thermostat. If you’re unsure, consult a professional for assistance.
Smart Security Systems:
- Placement: Install security cameras in strategic locations to cover important areas of your home. Consider mounting them at entry points, near windows, or in high-traffic areas.
- Connectivity: Connect your security system to your Wi-Fi network and follow the setup instructions provided by the manufacturer. Ensure that all cameras are properly synced with the hub or app for easy access and monitoring.
As you are creating a more convenient and efficient home, why not also make it more sustainable? Solar energy systems are a great way to reduce your carbon footprint and save on electricity bills. If you’re in Indiana, there are many experienced solar contractors ready to help you integrate a solar system into your smart home setup. Doing so will not only make your home more eco-friendly, but it might also increase its value, making it a smart investment for the future. Be sure to research local solar contractors in Indiana, compare quotes, and read reviews to find the best fit for your specific needs and budget.
Step 5: Set Up Automation and Control
Once your devices are installed, it’s time to set up automation and control. This involves creating schedules, routines, and personalized settings to tailor your smart home experience. Here are some steps to consider:
- Create Scenes: Set up scenes that combine multiple devices to perform specific actions with a single command. For example, create a “Good Morning” scene that turns on the lights, adjusts the thermostat, and starts playing your favorite morning playlist.
- Integration: Integrate your smart devices with other platforms and services. For example, connect your smart home hub to your voice assistant (e.g., Amazon Alexa or Google Assistant) for voice control.
- Customize Settings: Explore the settings and customization options available for each device. Adjust brightness levels, sensor sensitivity, or other preferences to suit your needs.
Step 6: Test and Troubleshoot
After completing the installation and setup process, take some time to test all your devices and automation routines. Ensure that everything is functioning as expected and troubleshoot any issues that may arise. Don’t hesitate to consult manufacturer support or online resources for guidance.
Setting up a smart home doesn’t have to be an overwhelming task. By following this simplified installation guide, you can easily create a smart home that enhances convenience, comfort, and efficiency. Remember to assess your needs, choose a compatible smart home hub, and install devices correctly. Take advantage of automation and control features to customize your smart home experience. With a bit of planning and patience, you’ll soon enjoy the numerous benefits of a fully connected and automated home.
Author Name: Sylvia


